What a lively and insightful afternoon we had at the SMPTE Media Technology Summit! A huge thank you to everyone who joined us at the Solutions Hub Stage to participate in the "Colorist Society Presents: Ask the Colorist" panel. It was a true pleasure to engage in such a thoughtful and forward-looking discussion with my fellow colorists and our enthusiastic audience. We had a lot of great questions asked.
A special shout-out to my esteemed co-panelists: Picture Shop's Natasha Leonnet, The Foundation's Gareth Cook, the Colorist Society's own Sarah Priestnall, and FotoKem's Rory Gordon. Your contributions were invaluable!

For those who couldn't make it, here are some of the deeper takeaways from our conversation.
Delving into machine vision's role
We went beyond a surface-level look at automation and explored the specific, powerful applications of machine vision in the color suite.
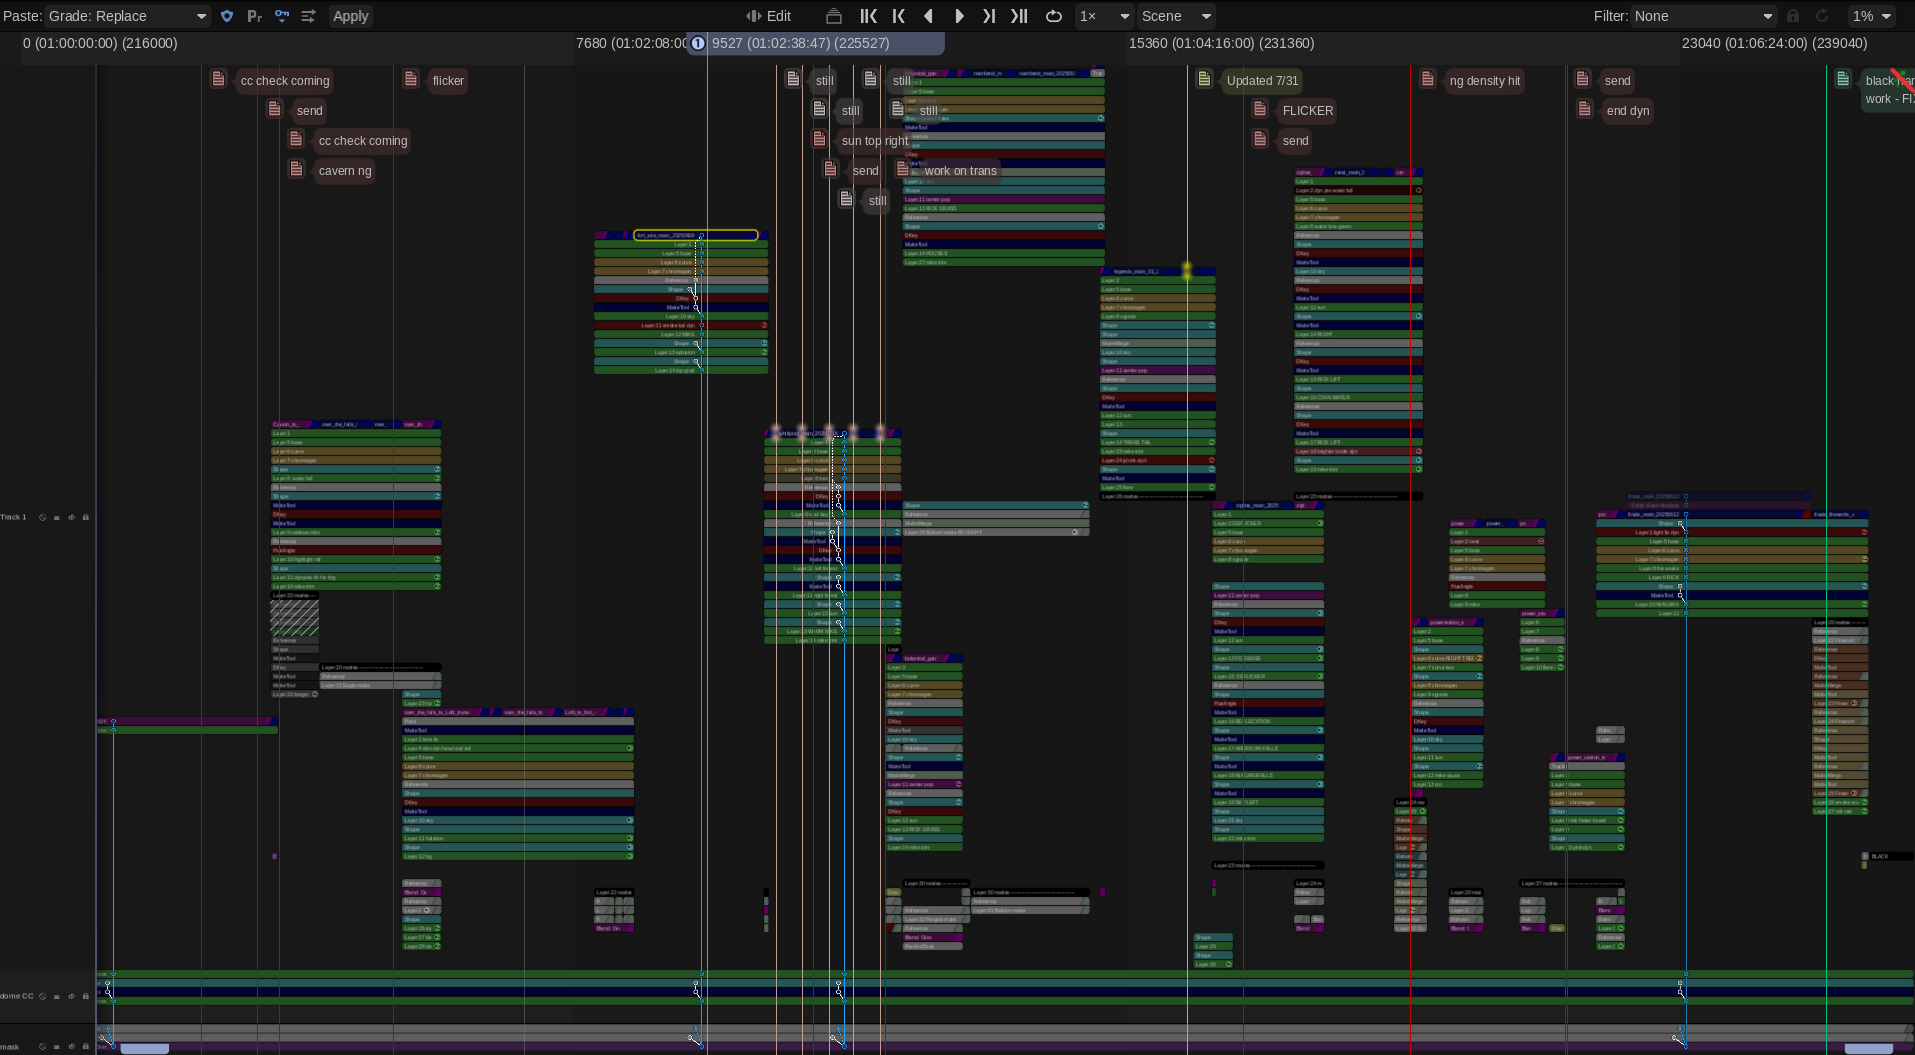
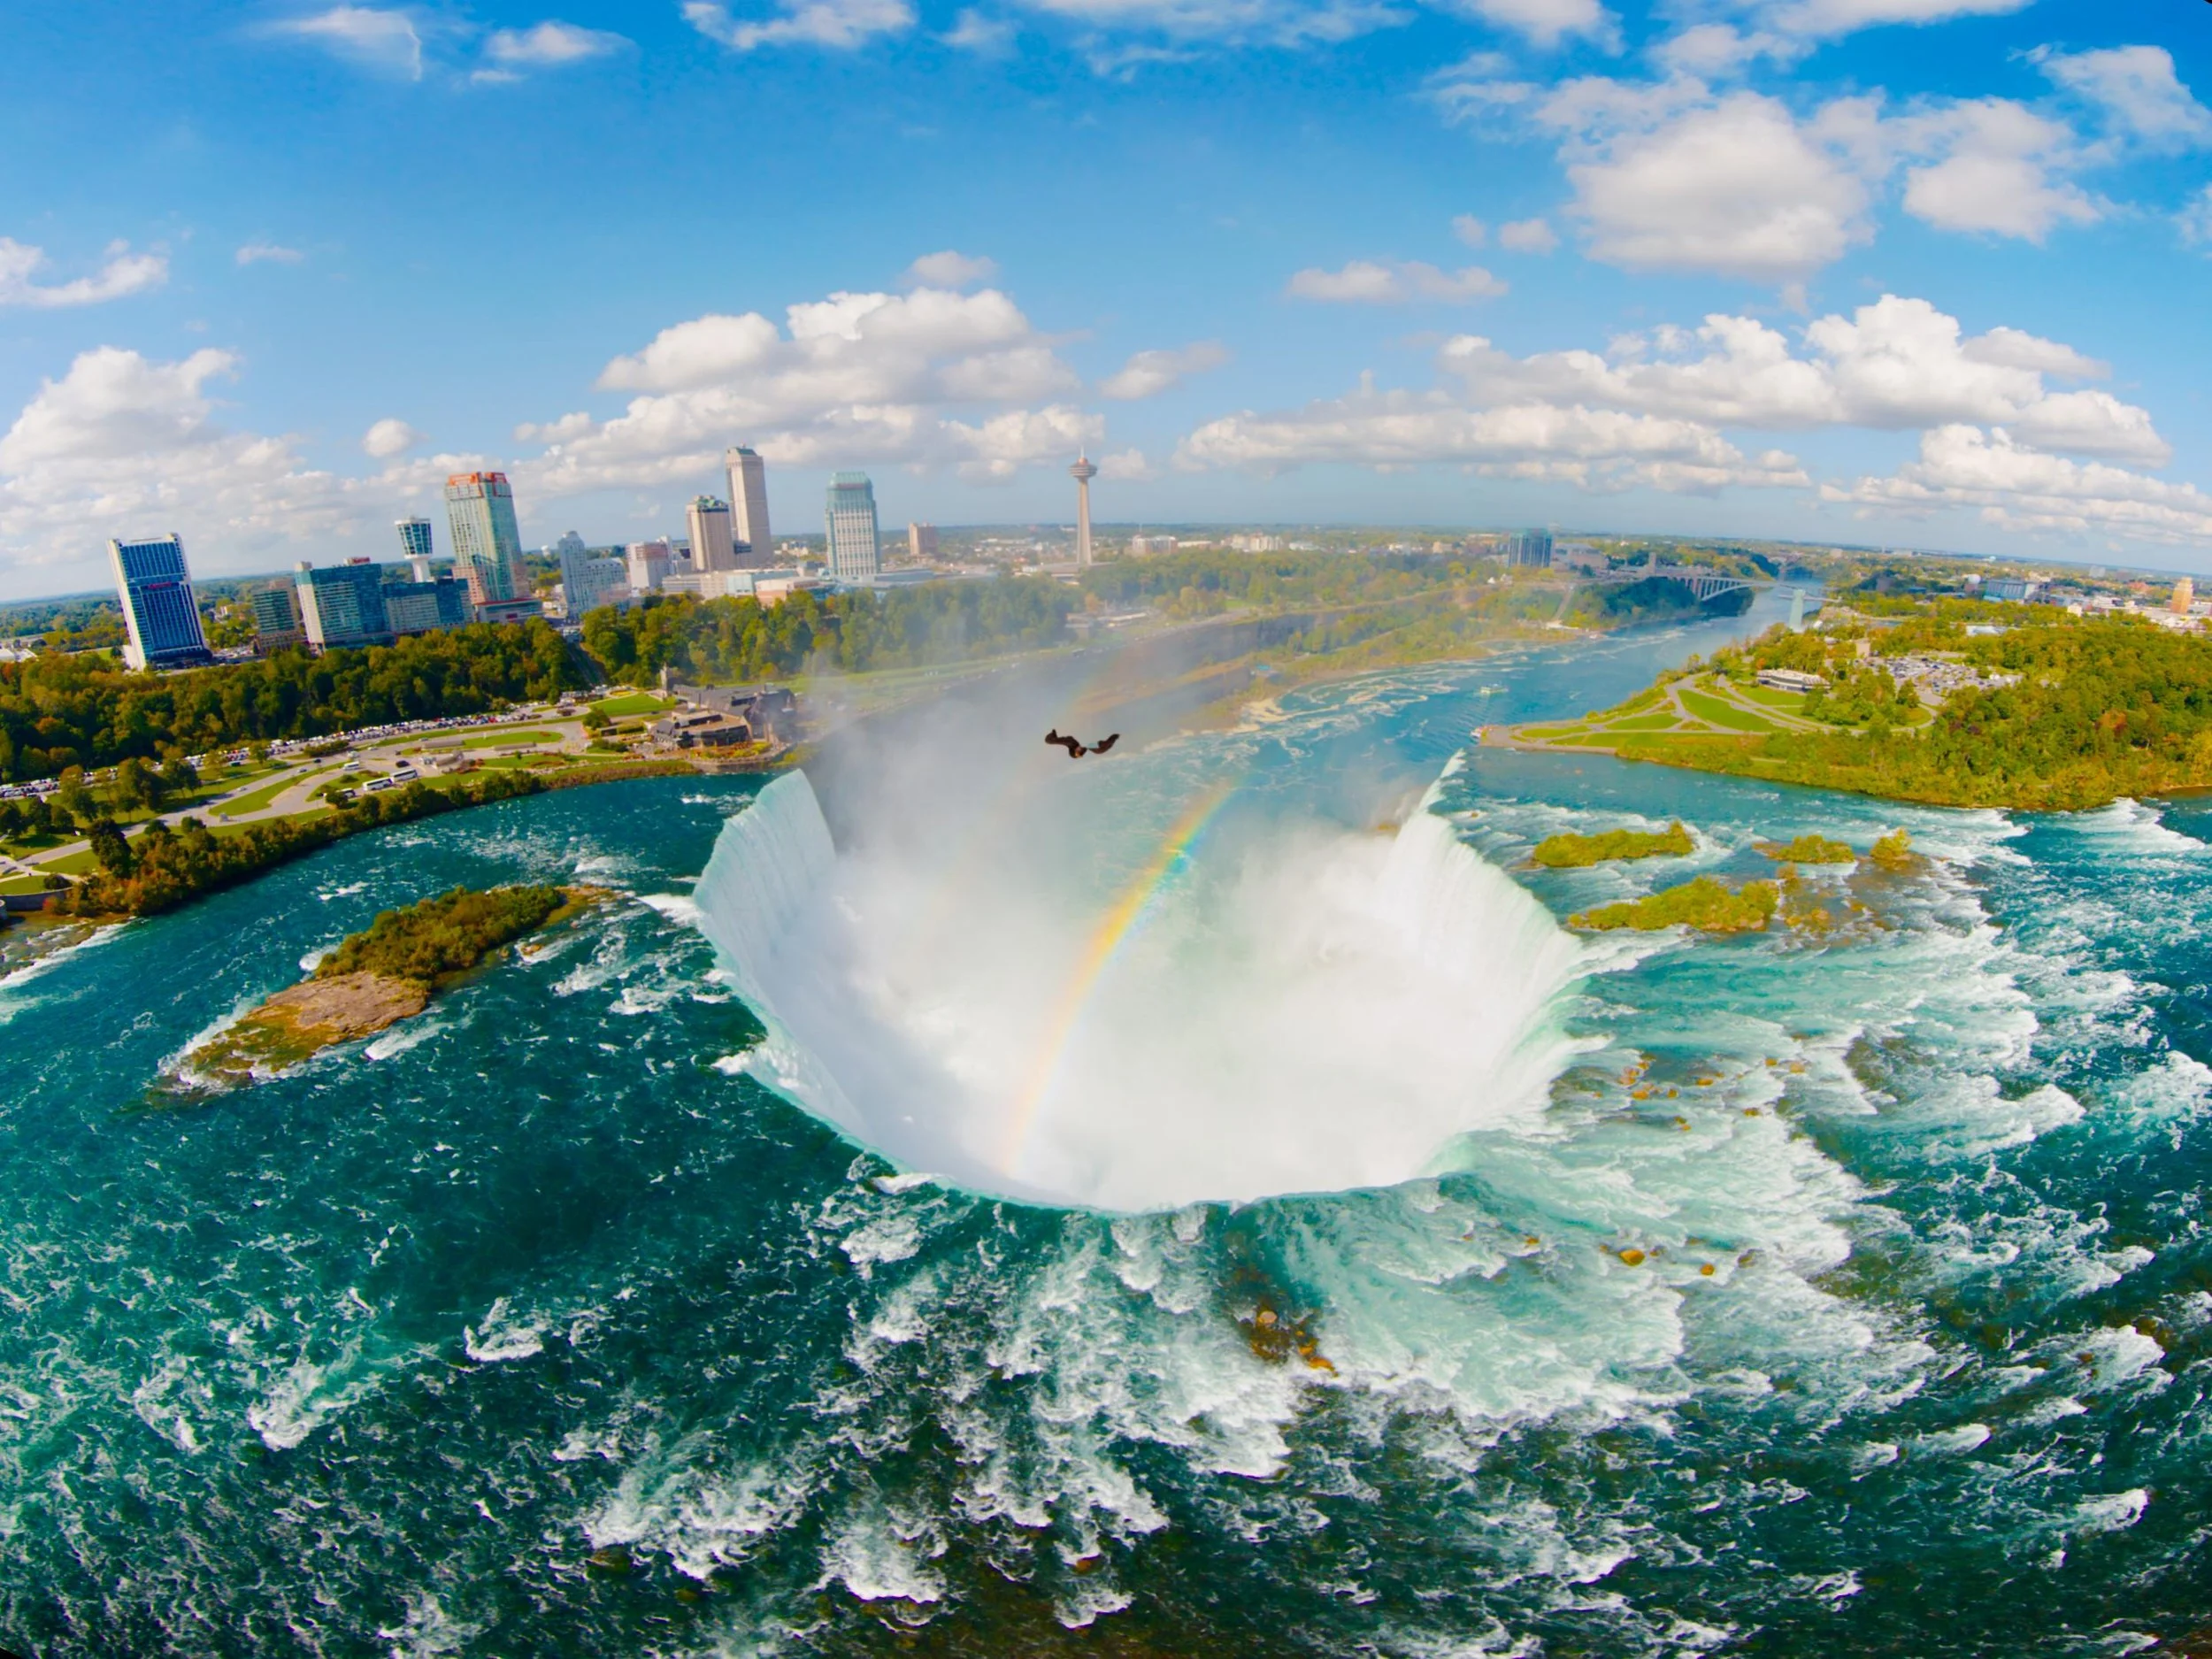
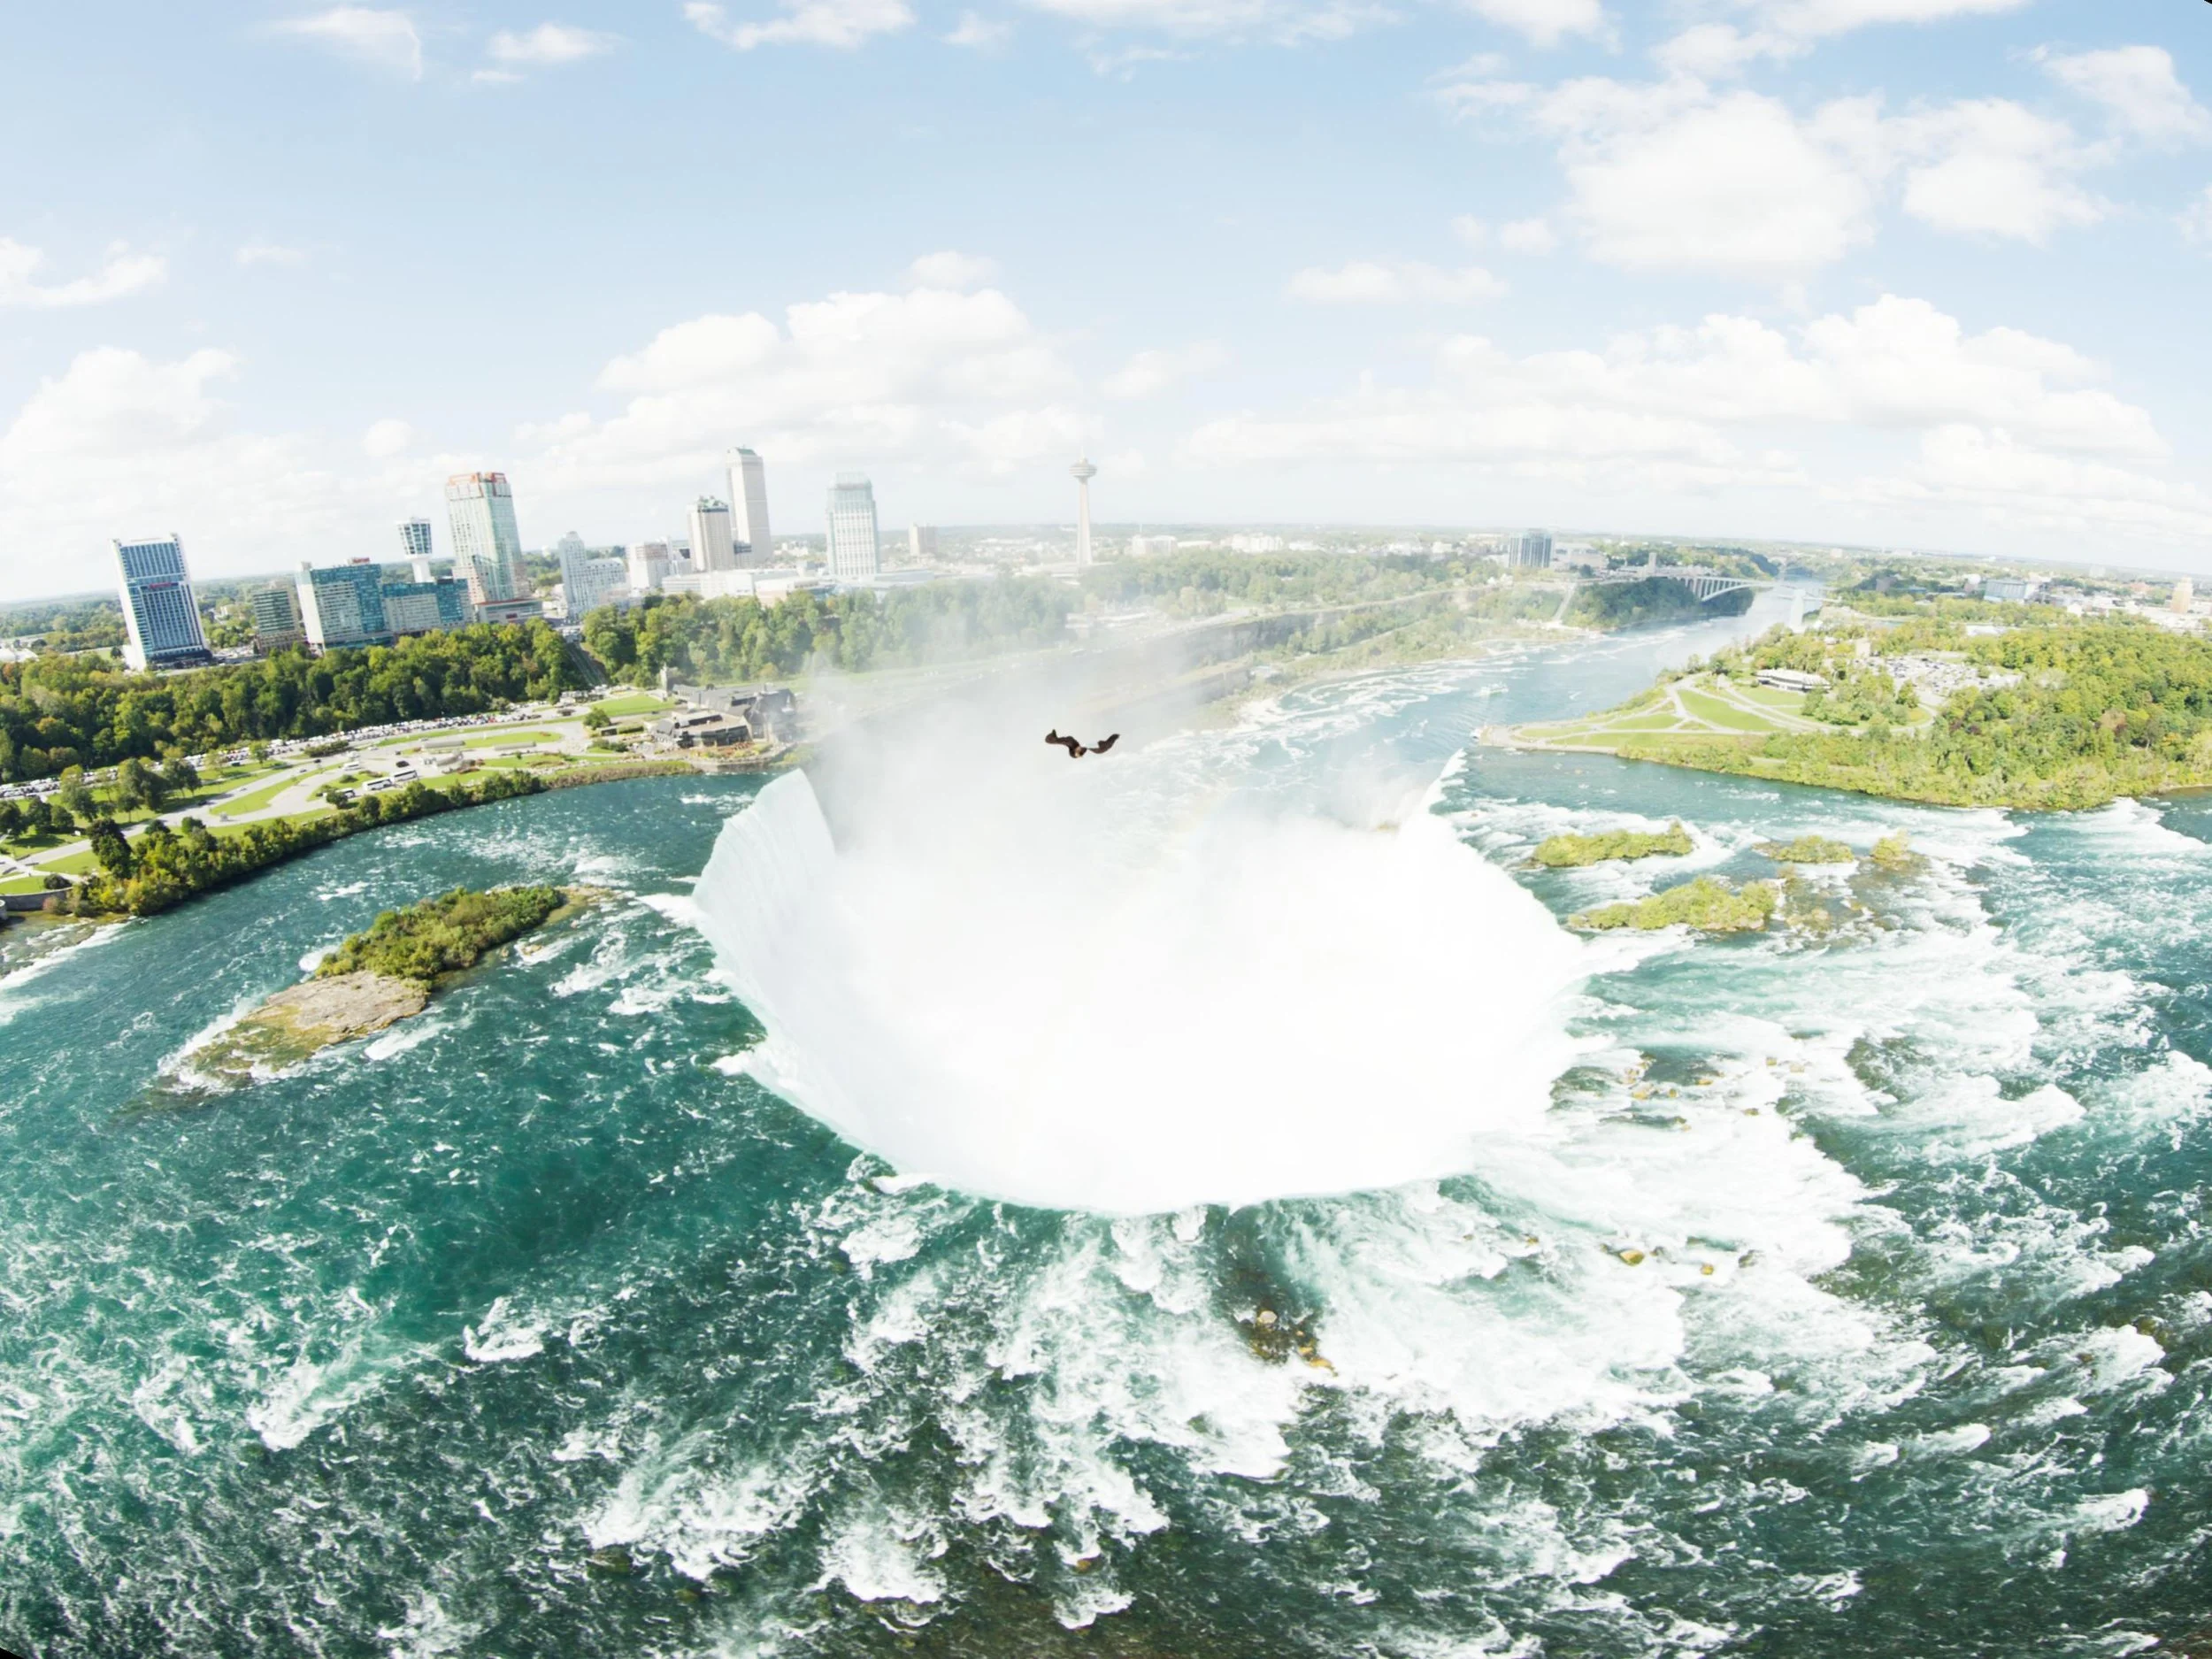
The conversation around shot matching was particularly rich. We touched on tools from Filmlight’s presentation, which leverage machine vision and perceptual models to quickly analyze a key shot and automatically match its "look" across an entire scene. This technology streamlines the technical heavy lifting, freeing the colorist to focus on artistic direction.
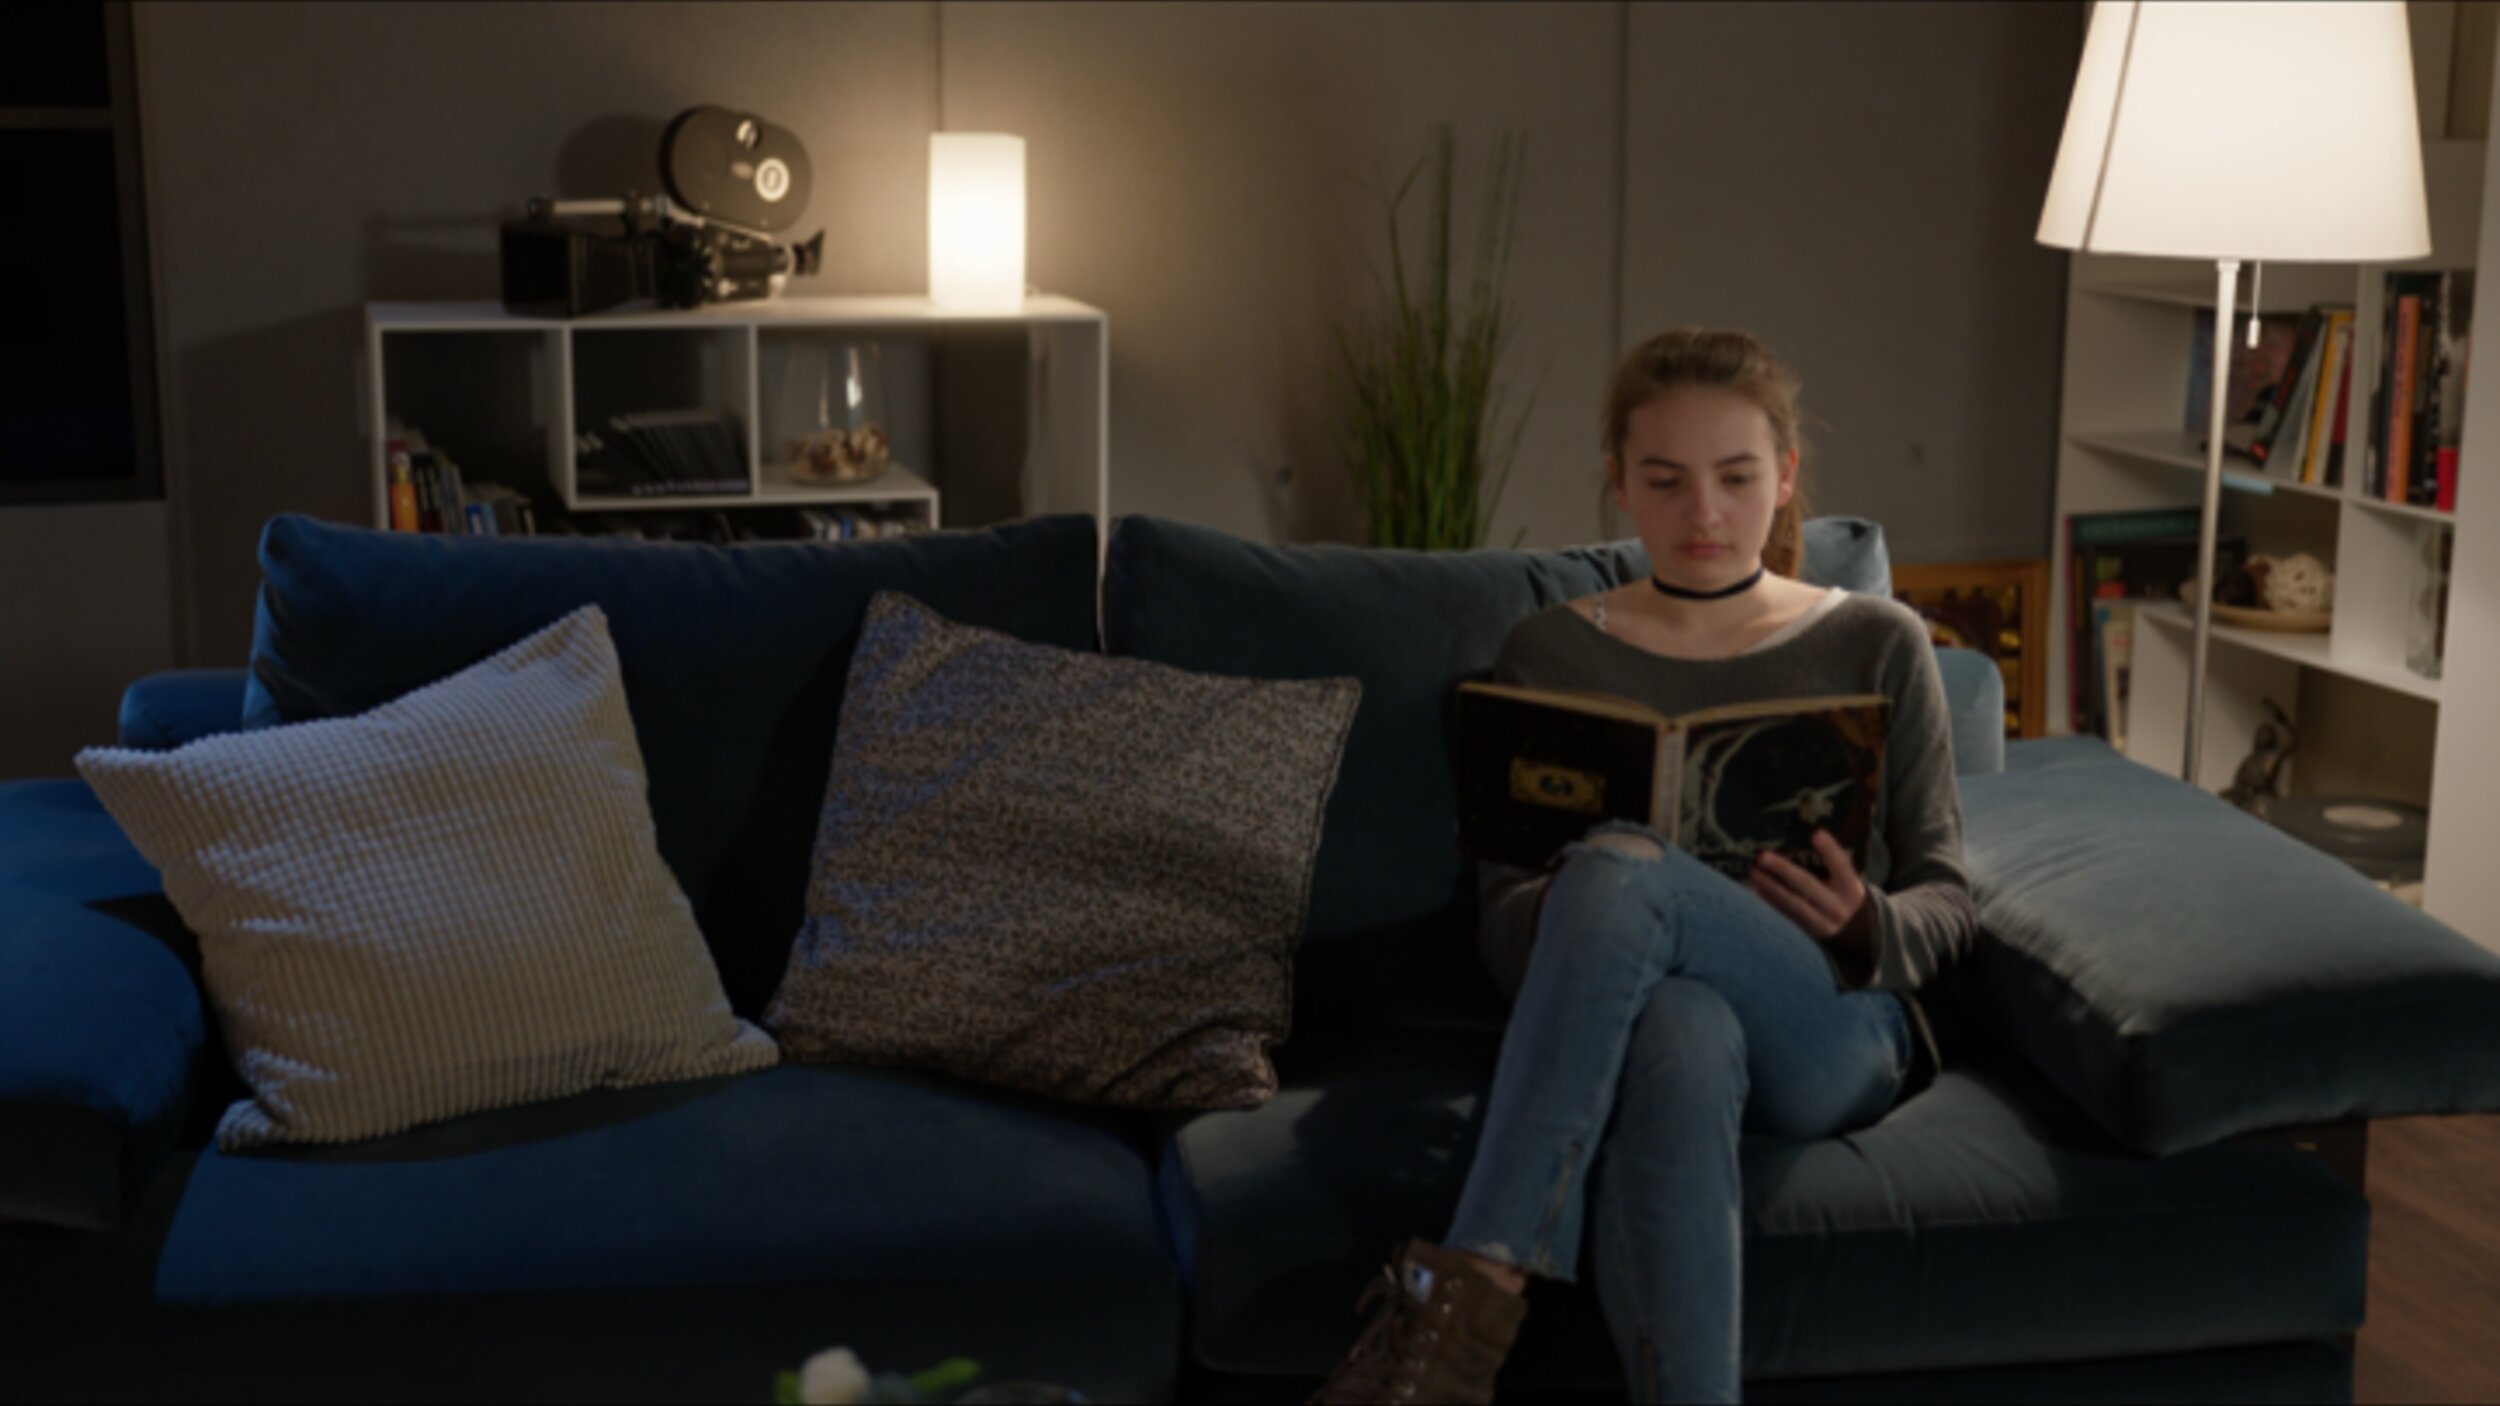
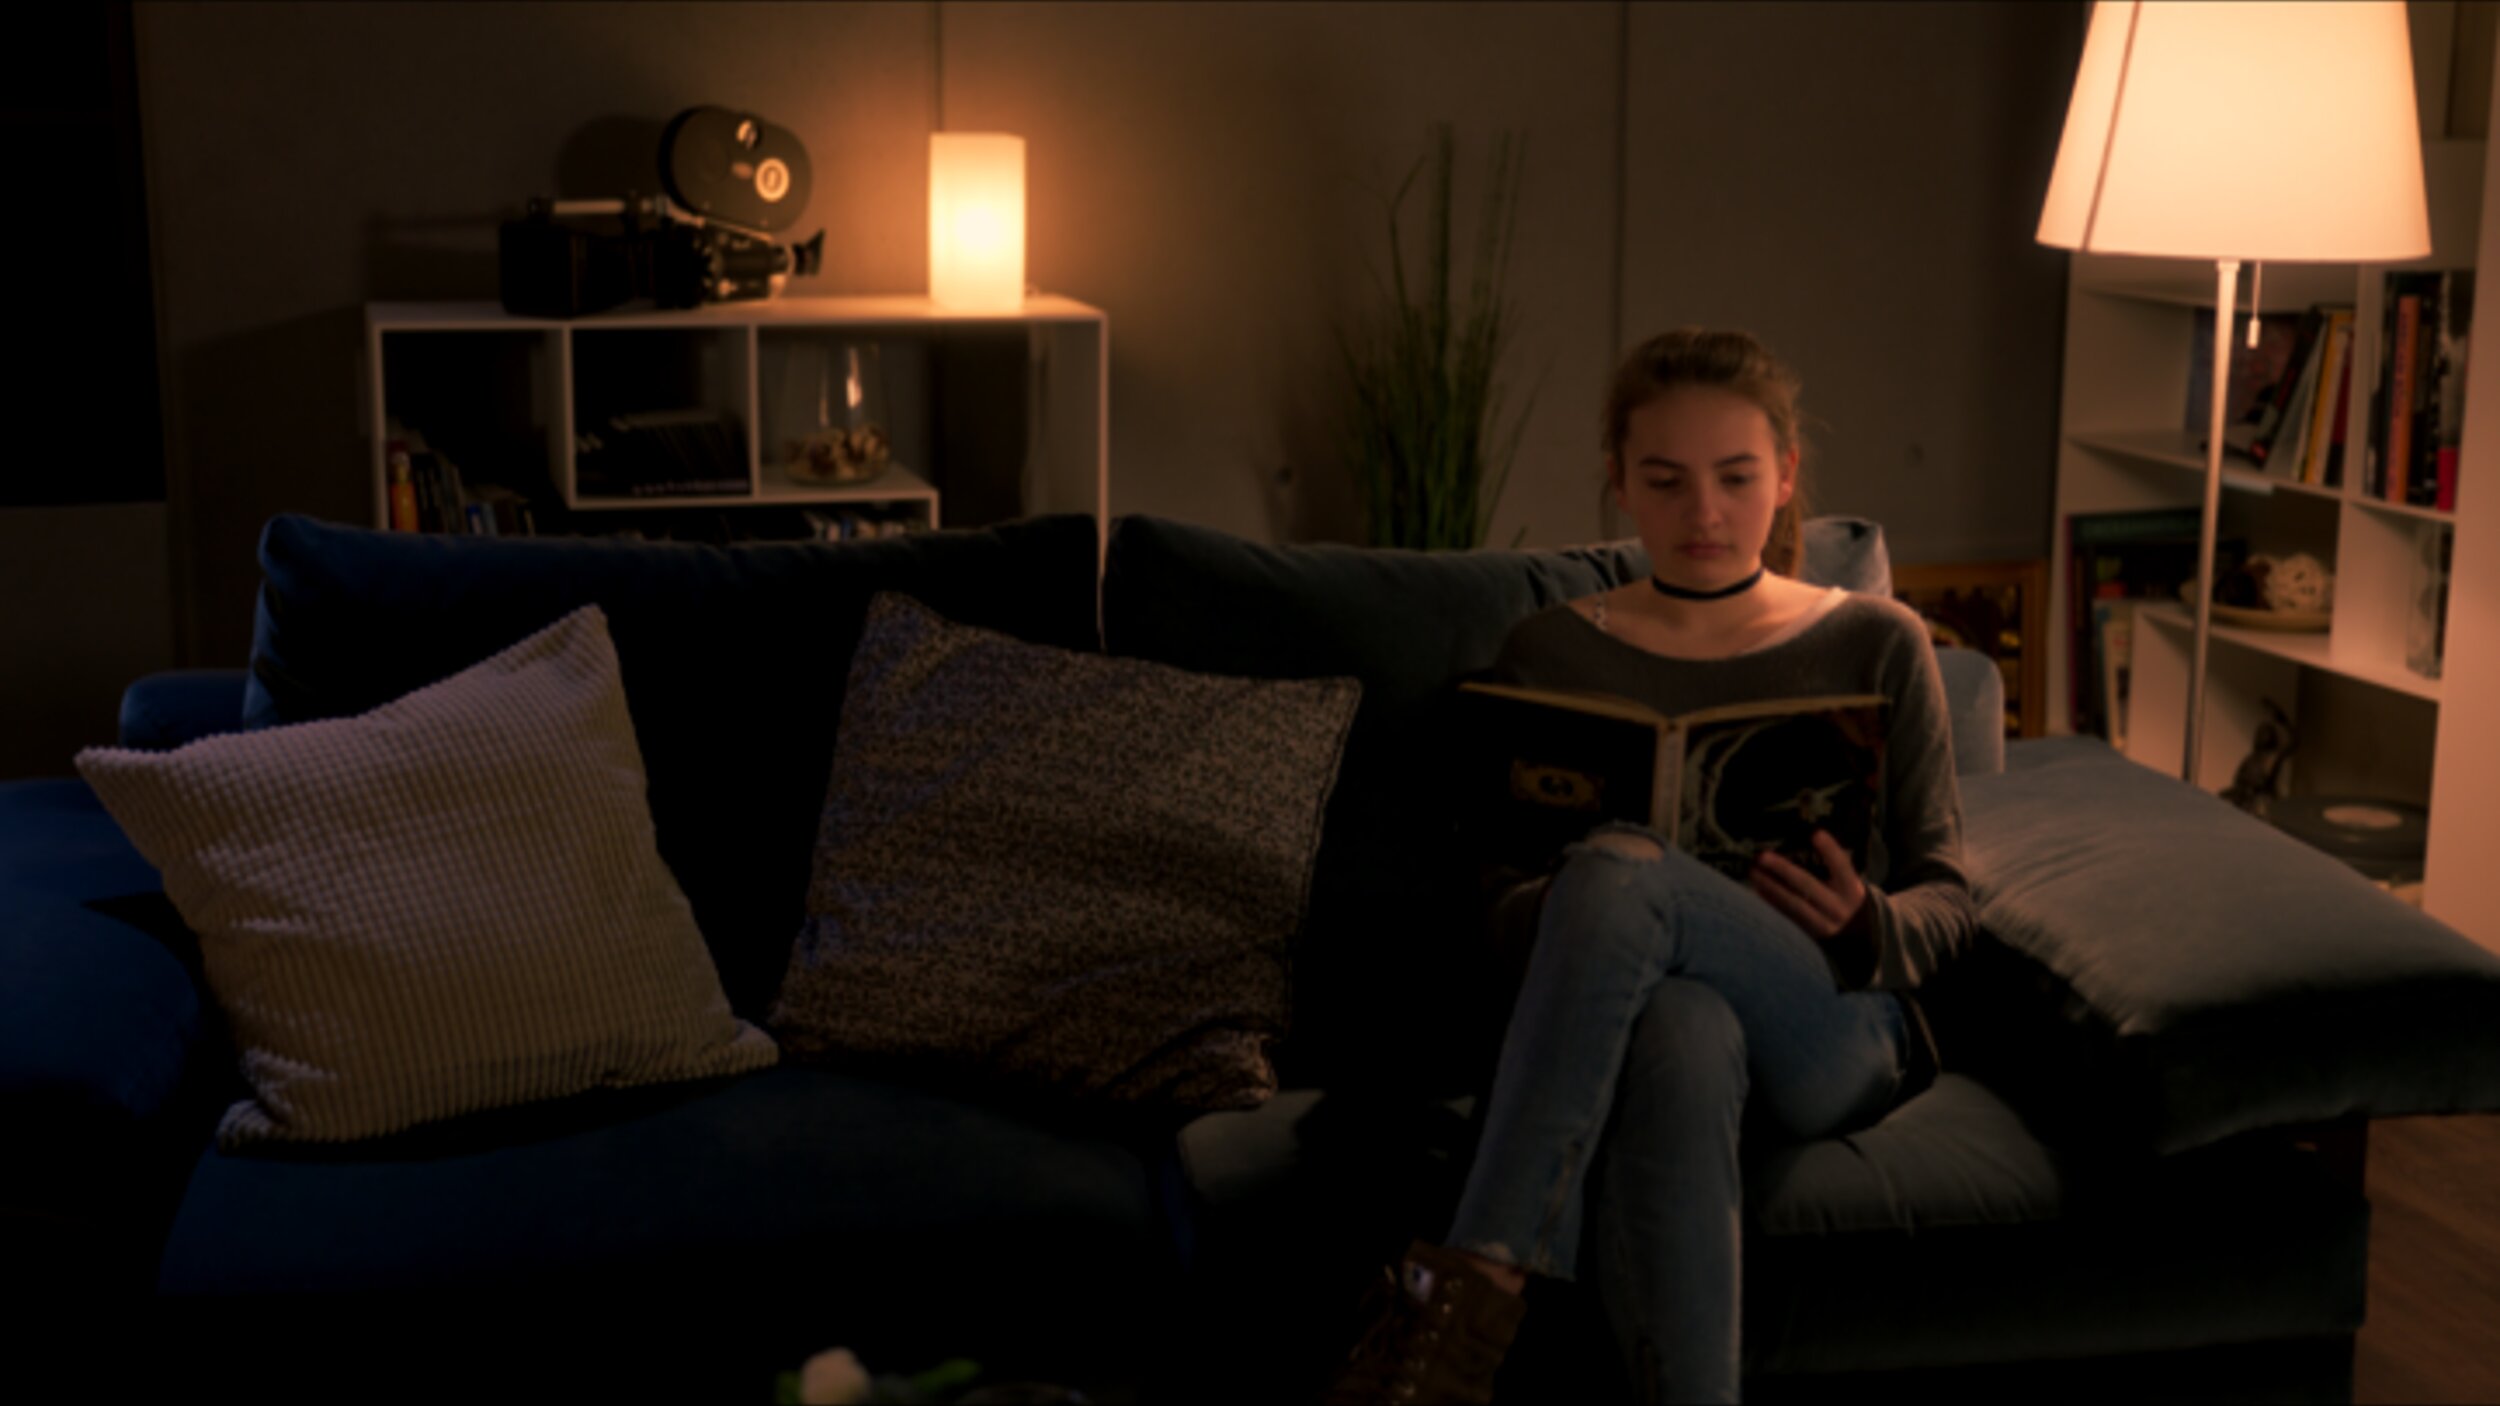
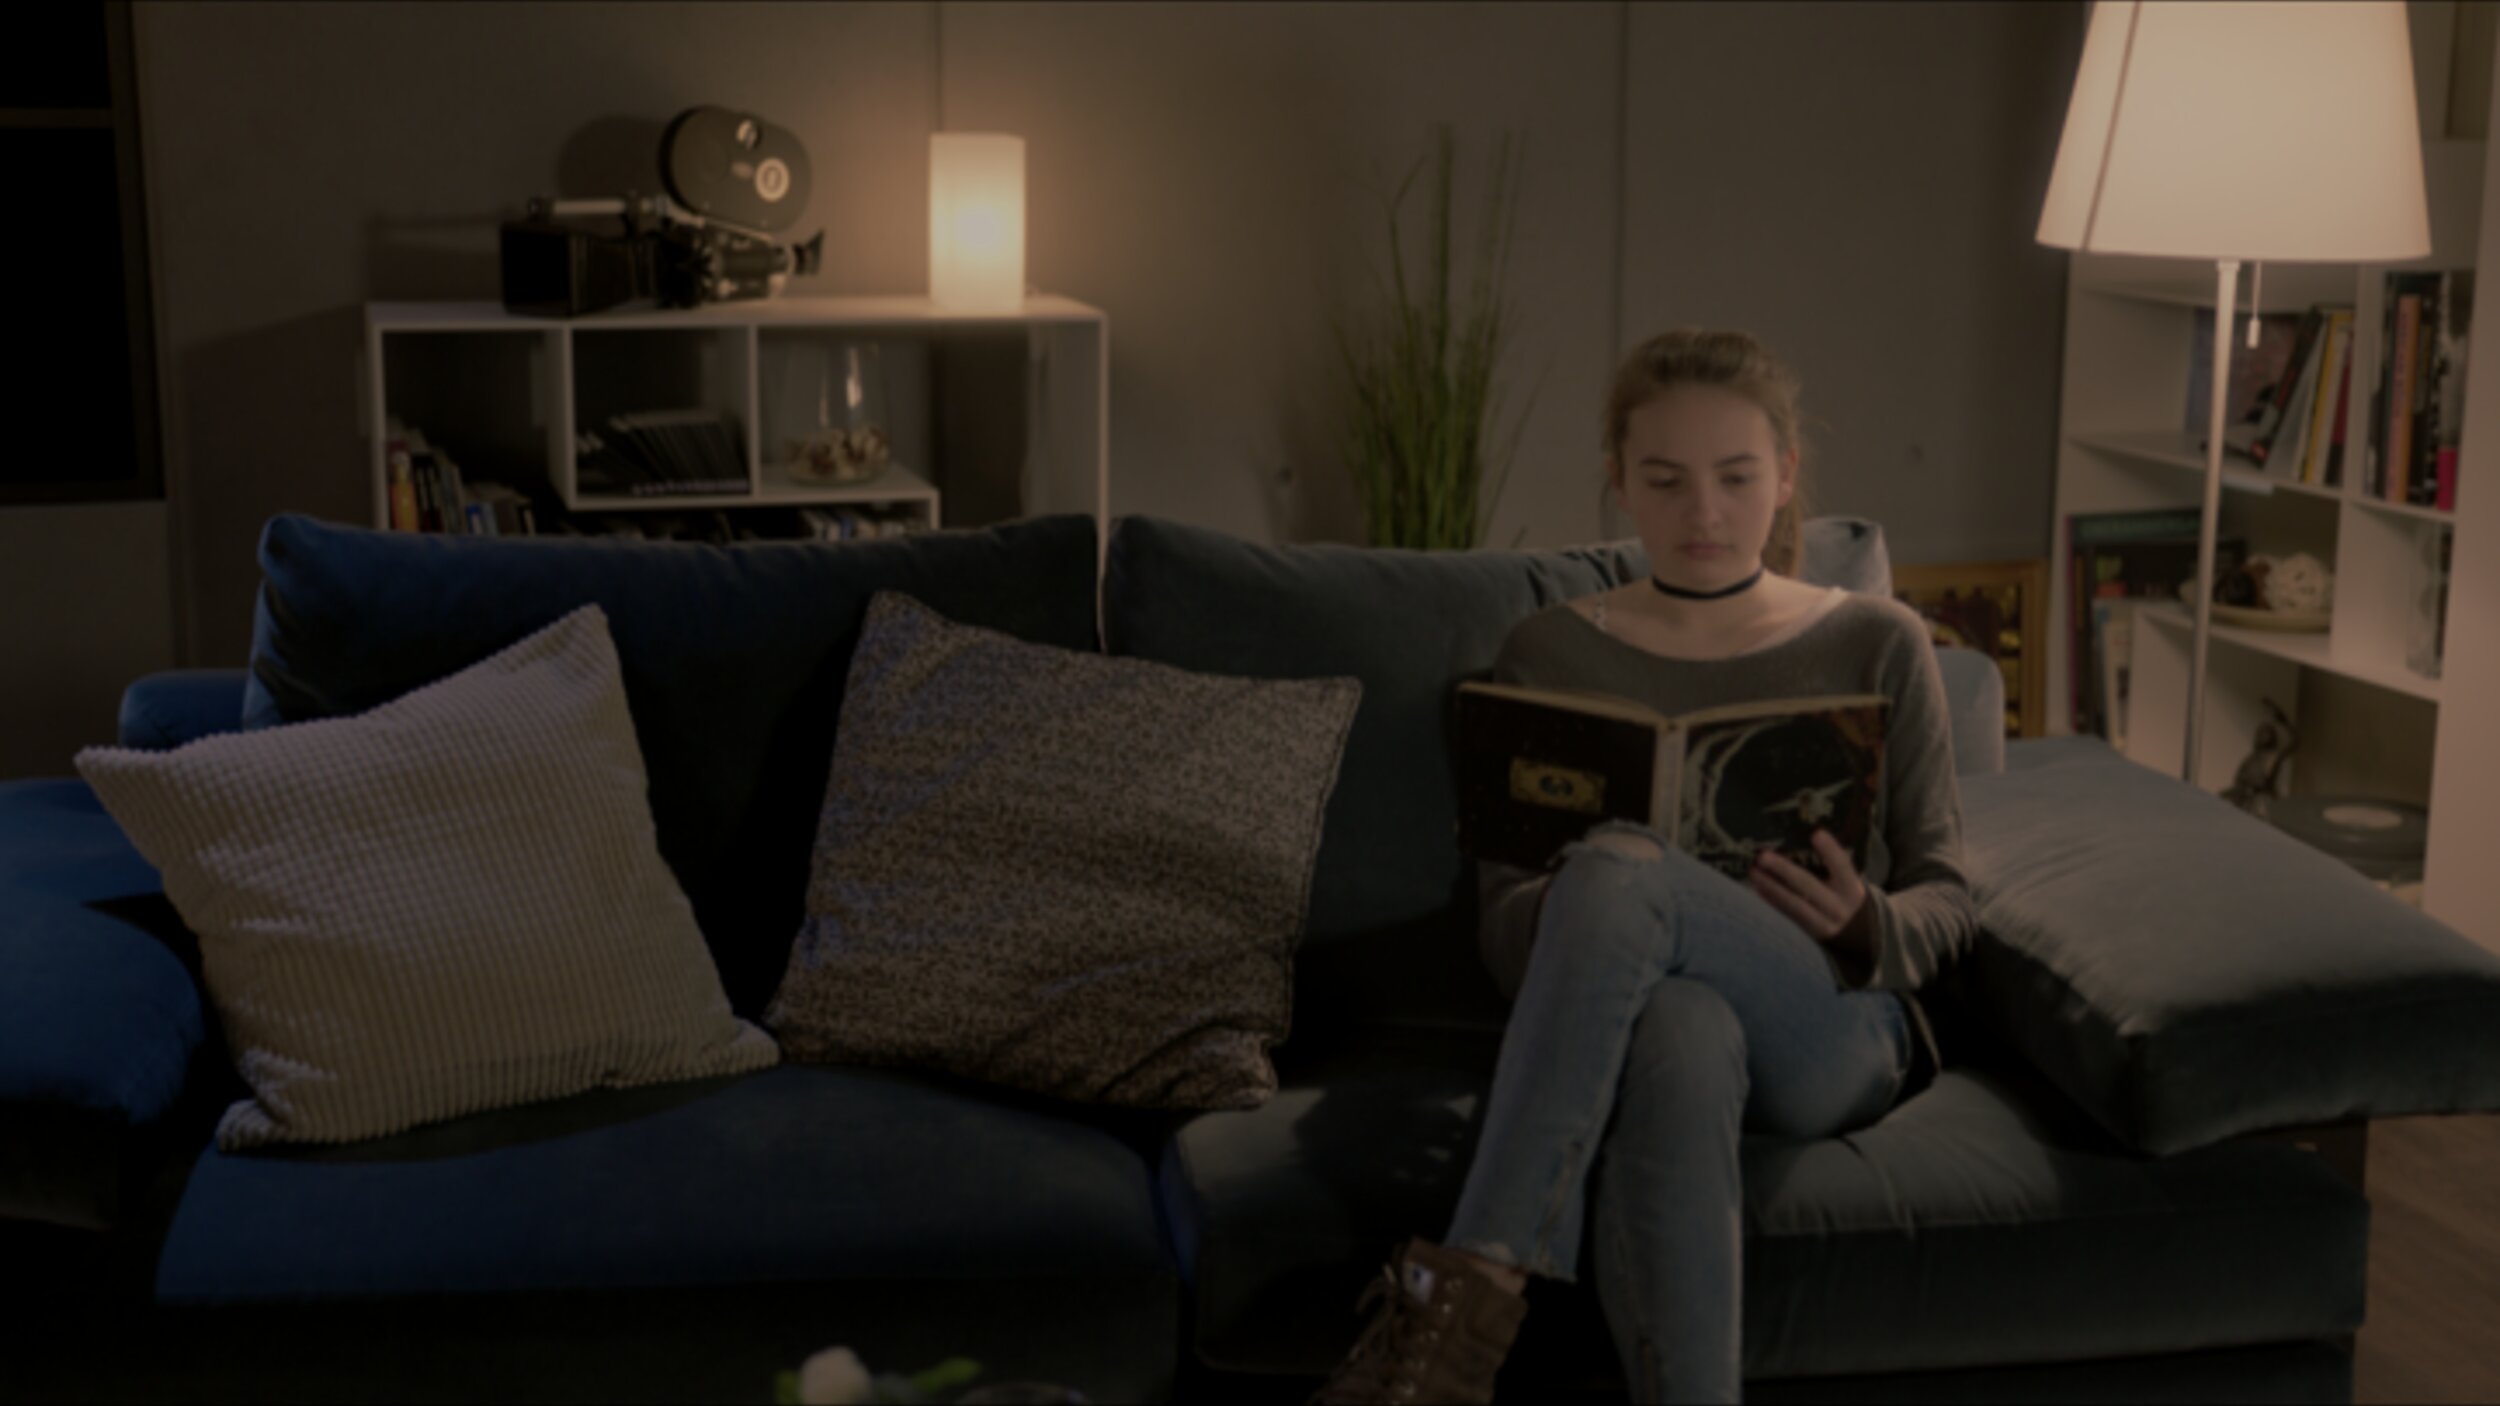
It's not just about matching. I've previously blogged about using machine vision to create a depth channel from existing footage. This allows for advanced atmospheric effects, like subtly desaturating the background to draw the viewer's eye to the foreground action.
We also addressed the technical hurdles. As machine vision relies on robust image data, we highlighted challenges related to lighting changes, calibration, and managing large datasets. This reinforced the need for a precise and consistent technical foundation. Perhaps even a standard for checkpoints from SMPTE in the future.
The backbone of consistency: The ACES workflow
Another key discussion centered on the Academy Color Encoding System (ACES), which was front and center in conversations about modern post-production.
We discussed how this device-independent color management system is no longer a niche tool but a foundational element, especially when dealing with multiple VFX houses and camera formats. ACES simplifies matching footage from different cameras by normalizing everything into a single common space.
In the age of HDR, we focused on how ACES provides a predictable and consistent image display across a wide range of devices. This is essential for preserving the creative intent throughout the entire pipeline, from on-set monitoring in virtual production to final delivery.
Balancing art and technology
Ultimately, the technology is only as good as the creative eye behind it. Taste was echo’ed many times by all panelists. Machine vision is a powerful assistant, but it doesn't replace the colorist. The consensus was that our role is shifting:
Instead of being overwhelmed by repetitive tasks, soon use machine vision to handle the initial technical correction.
This allows us to dedicate more creative energy to refining the mood, shaping the story, and making those nuanced, human-driven decisions that define a project's final look. More time grading and less time “correcting.”
The ongoing evolution of remote workflows. The discussion touched upon the lasting changes from the pandemic and how cloud-based grading is becoming more and more common. We talked about how to strike the right balance, manage latency issues, and ensure secure, high-quality collaboration when a client is not in the same room.
The importance of consistency over flashiness. A great reminder that long-term success in this field isn't about chasing one viral, incredible grade. It's about consistency, repeatability, and being a reliable, trusted partner within the post-production pipeline. We touched on the importance of checking your ego at the door and focusing on the client's needs.
Thank you again to SMPTE for organizing such an excellent event and to everyone who attended. It was a privilege to share insights and discuss the incredible future of our craft. I look forward to seeing you all again soon!